
How to Configure Welcome Emails
The guide explains how to configure welcome emails in the Phin portal, detailing manual and automatic sending options, customization via the branding page, workflows for both sending methods, and the ability to inject company-specific variables into the email body for personalized user training and phishing content welcomes.
How to Configure Welcome Emails
Welcome emails allow you to use the Phin portal to easily welcome your users to their training and phishing content.
Welcome Emails
Tourial
Start


reCAPTCHA
Recaptcha requires verification.
protected by reCAPTCHA
All customization and configuration of your welcome messages can be found on the branding page. Out of the box, welcome emails will need to be manually sent to each user, but we support automatically scheduled sends as well. The automatic sending times and audience can be configured inside of the welcome email card. See below for more details on the two workflows, as well as some more technical details of when and how welcome notifications are sent.
Skip ahead to the workflow for non-automatic welcome emails
Skip ahead to the workflow for automatic welcome emails
Variable Injection for Welcome Email Body
When editing the email body for welcome emails, you have the option to inject company/partner specific information at sending time. Below is a list of all the variables that are supported:
| Variable Name | Variable Syntax | What is added to the Email |
| Company Name | {{companyName}} | The name of the company that is being sent the email. |
| Partner Name | {{partnerName}} | The name of the partner that the company is under. |
| How to use the Report Phishing Button | {{{reportPhishingArticleUrl}}} | Link to Phin's Knowledge Base with a Youtube Link that teaches users how to use Phin's Outlook Report Phishing Button |
| How to use the Report Phishing Button | {{{reportPhishingVideoUrl}}} | Link's directly Youtube video that teaches users how to use Phin's Outlook Report Phishing Button. |
Note: when adding these variables to the welcome email, be sure to add them exactly as they appear in the variable syntax column. For example: " {{partnerName}} is an excellent partner!"
Configuring Welcome Emails at the Partner Level
Before diving into a client and configuring welcome emails at the client level, it's best practice to set up your partner level first.
Note: When creating a company when there is no company template defined, the welcome email template will inherit the partner template until you decide to modify the company template. Welcome emails will use the Company template first, then if that's not set, it will use the Partner template, and finally the Default (if company and partner levels are not set).
Step 1: Log in to your partner dashboard
If you lost the link to log into your partner dashboard, click the link below!
Step 2: Navigate to the Branding Page
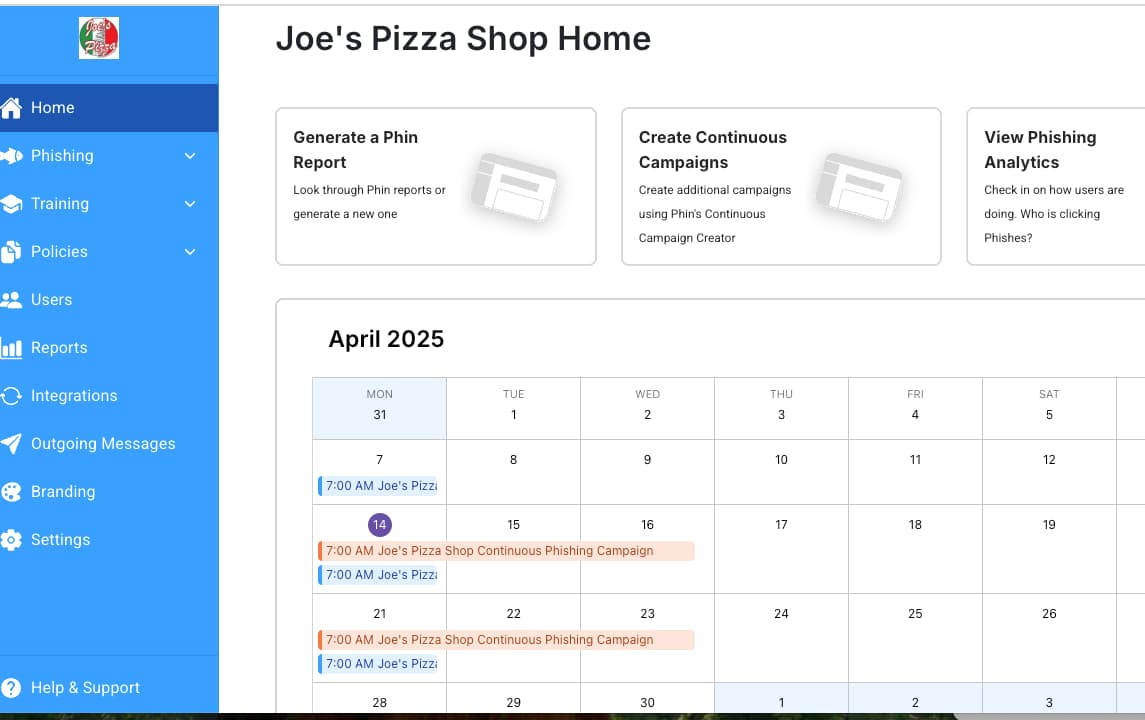
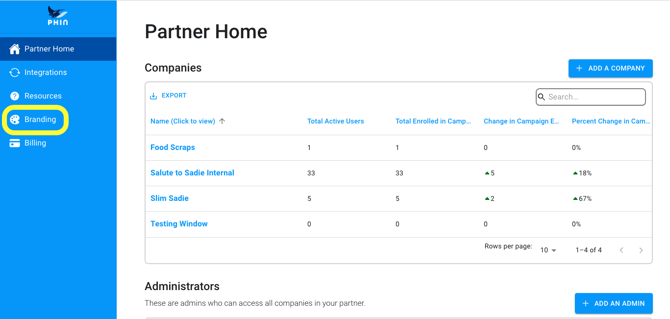
While on the partner dashboard, navigate to Branding on the left-hand side menu (this menu is accessible with the three horizontal lines in the top left of the screen).
Step 3: Set up Welcome Emails
When you get to the branding page, you will need to scroll down past the Partner Name and Logo Customization sections until you see Welcome Emails.
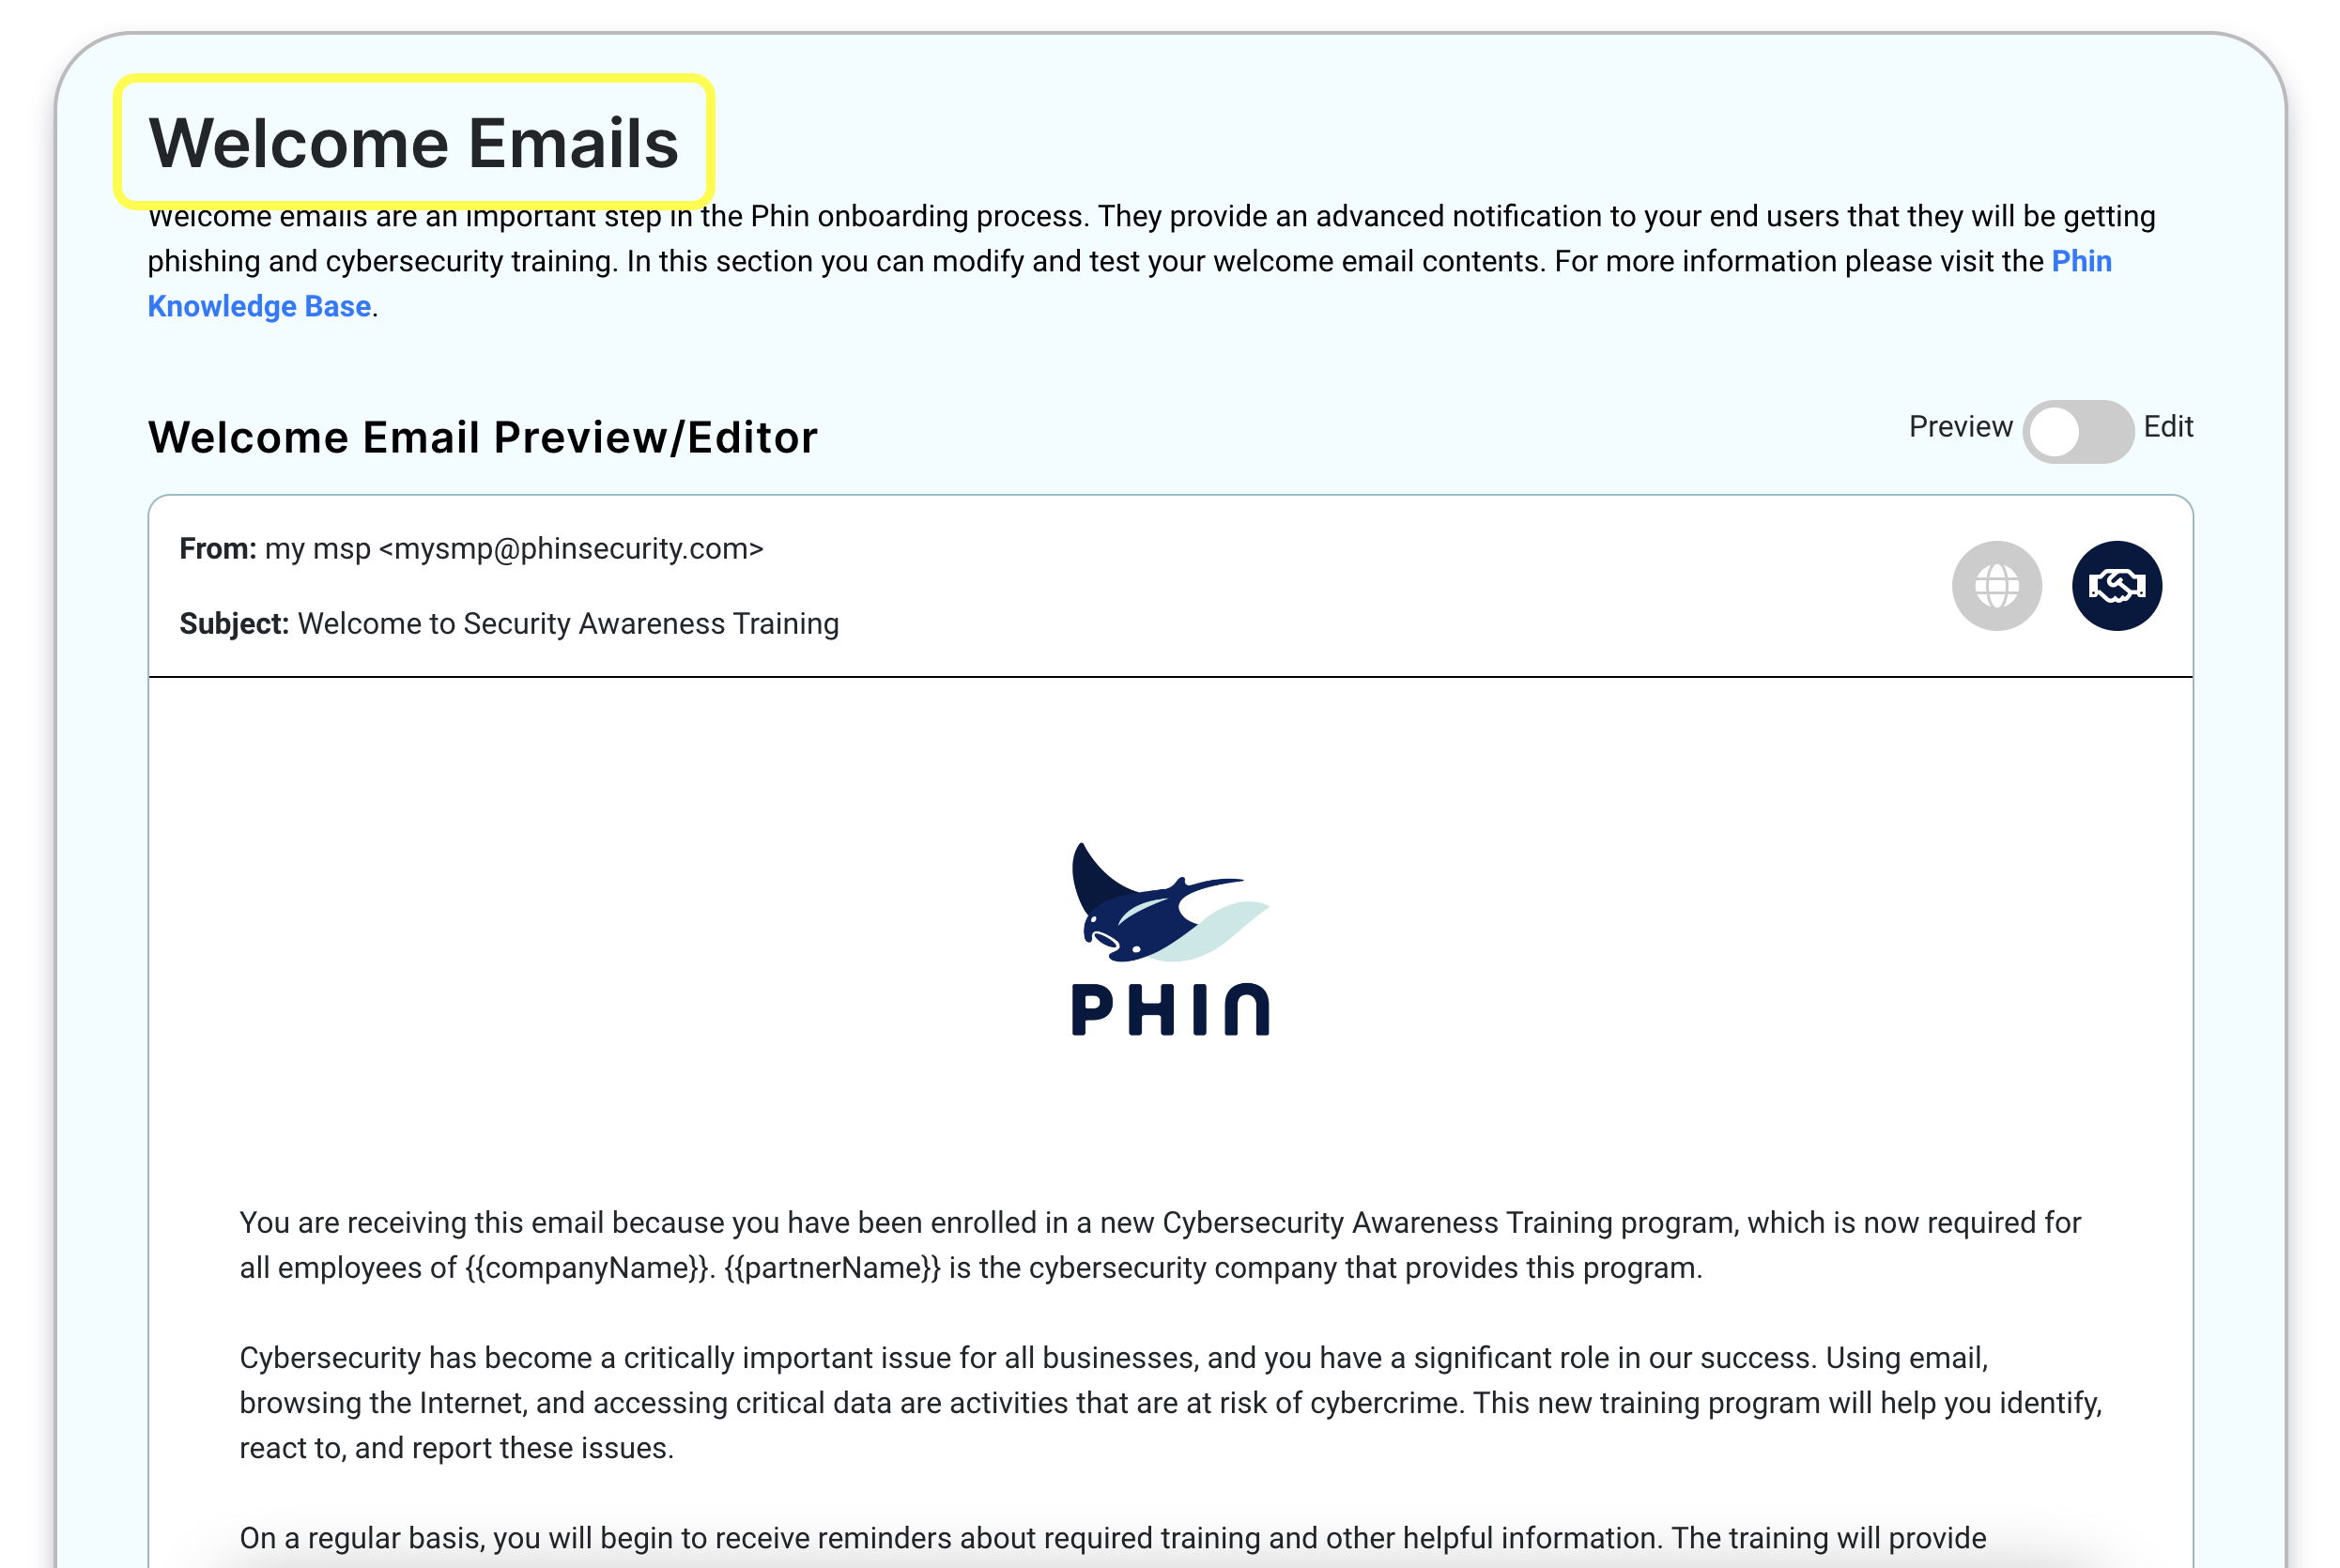
Once here, you will be able to edit and change anything you'd like on the template. Editing the Welcome Email at the Partner level will automatically update the template for all of your customers.
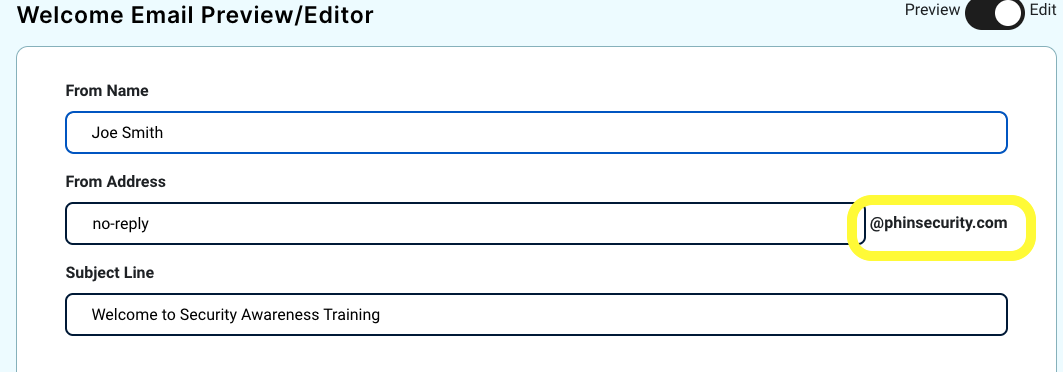
Currently, you are able to edit the From Name(seen below). It is best practice to not edit the From Address, as keeping this as no-reply will ensure users do not reply back, since this is an unmonitored email address.
Additionally, the email domain (highlighted in the yellow box below) cannot be changed currently.
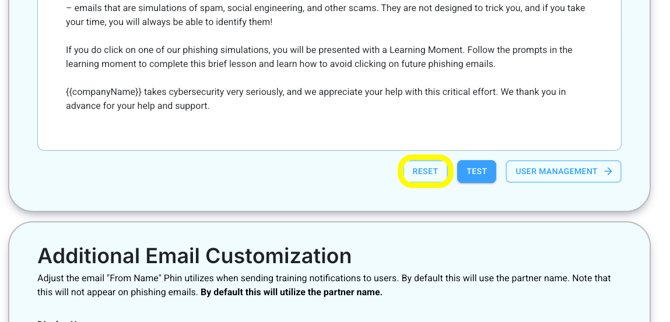
You can reset any changes made to the welcome email template by selecting 'Reset' underneath the body of the email. This can be done at both the partner and company level.
Workflow with Non-Automatic Welcome Emails (Default)
Newly created companies will always start with automatic welcome email sending off. This way, you can choose when and how to send out welcome emails that best fit the needs of your clients. The standard workflow to welcome your users, in this case, would be:
- 1.Head to the user's page within the client you'd like to configure welcome emails for.
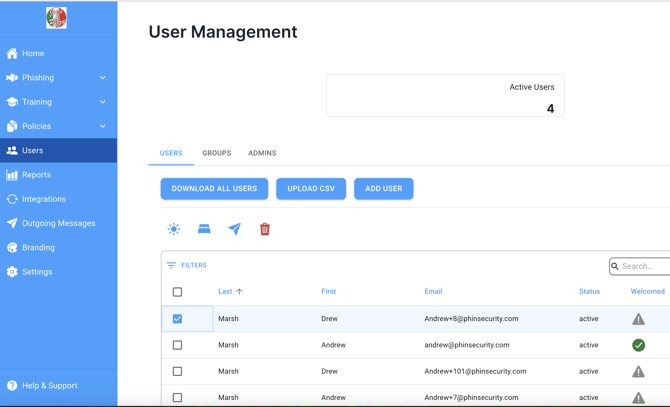
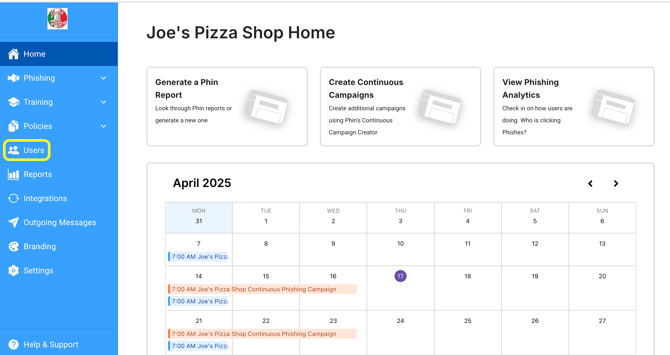 2. Select the users you would like to welcome
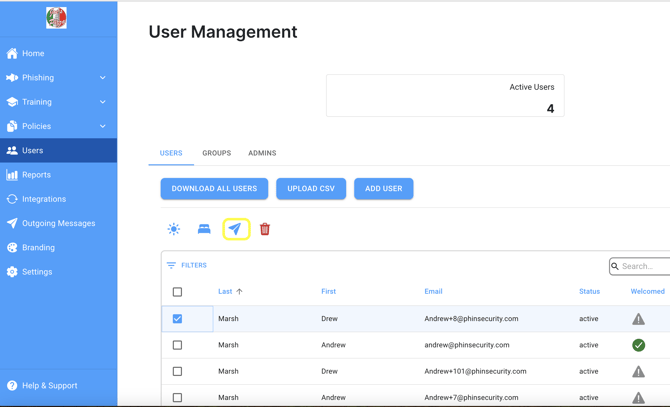
 3. Click the “Welcome Users” button to open up a scheduling window.
- 1.Select the date and time when you want these users to receive their welcome email.
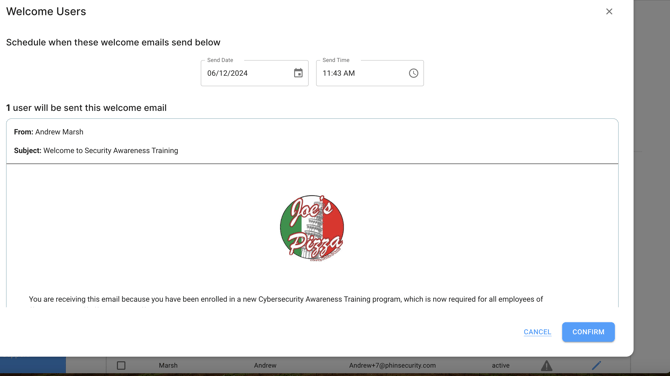
- 2.Once you've set the time and reviewed the template, all you need to do is click, Confirm.
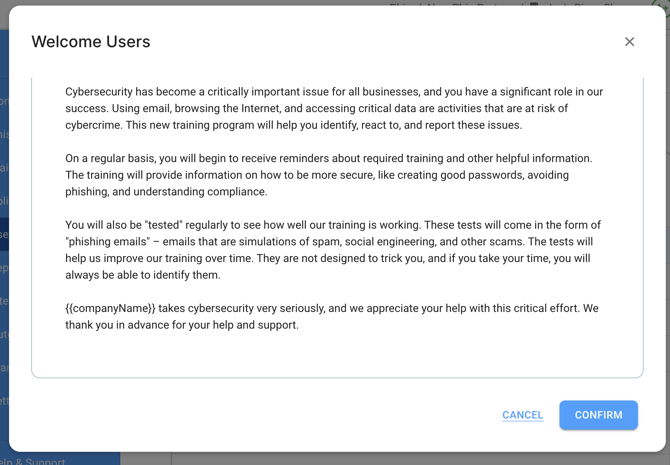
Be aware that in this workflow, users added, synced, or uploaded manually to the company will not be sent a welcome email unless you manually schedule one.
See below for the Automatic Welcome Sending feature, which can automate this process.
Workflow with Automatic Welcome Emails
Phin provides automation that handles sending welcome emails automatically when a user is added via the following methods:
- individually created
- uploaded through the CSV uploader
- synced from our user sync
This automates much of the above non-automatic workflow and is designed to help save you time. Below is the workflow to enable and use this feature:
Step 1: Navigate to Welcome Emails within your Client Dashboard
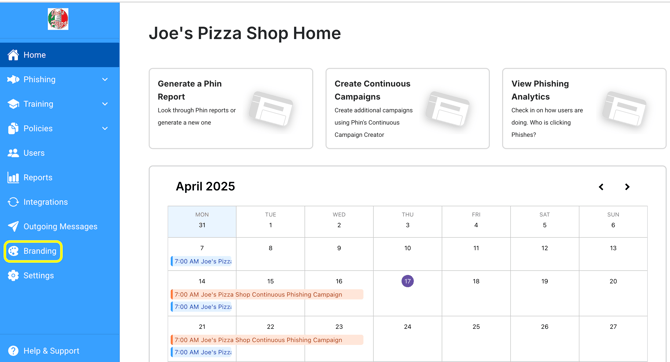
To begin the configuration of automatic welcome emails, first, navigate to welcome emails within the client dashboard.
If you aren't already at the home screen of the client portal, start by navigating to the home screen.
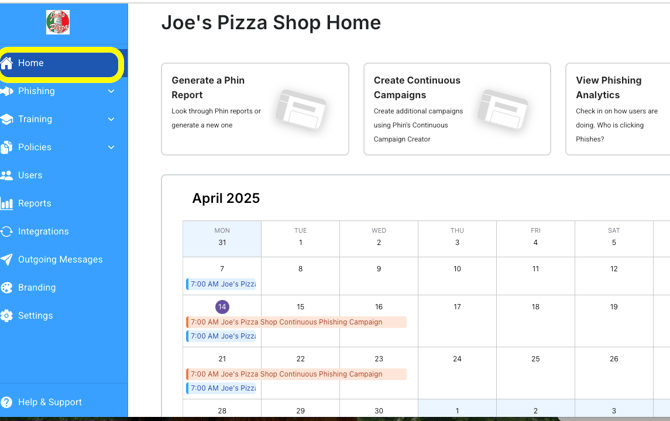
Once here, click on Branding on the left-hand navigation menu.
Step 2: Configure Welcome Emails
Now that we've made it to the configuration page, let's set up automatic welcome emails.
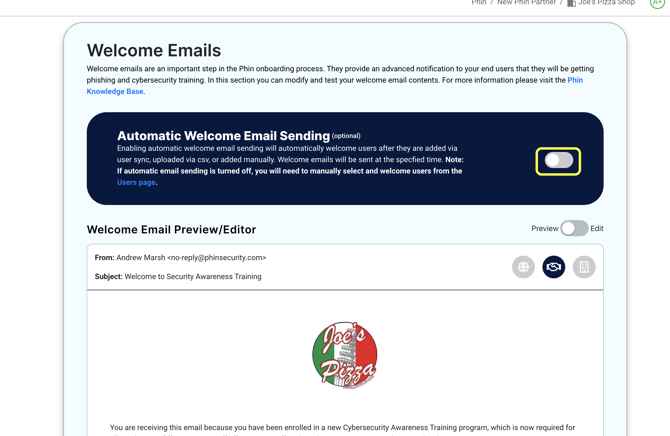
Start by toggling on the optional automatic send feature.
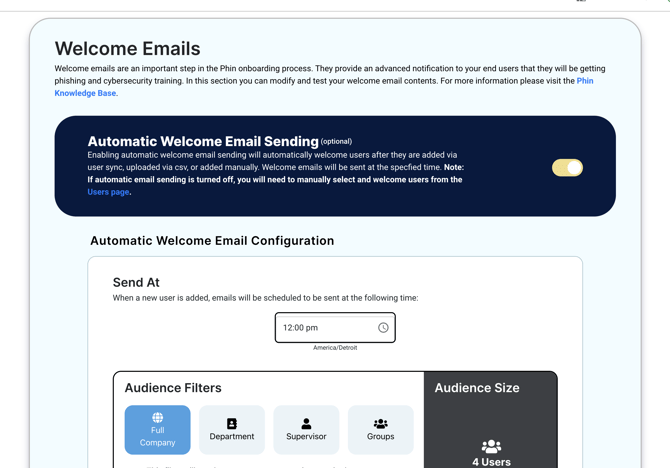
Select the time that you would like new users to be welcomed daily
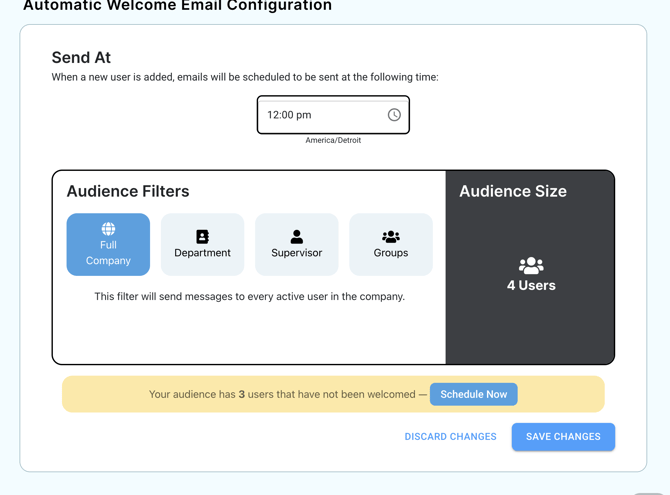
Finally, configure the audience filters to determine who will receive your automatic welcome emails.
Once the feature is enabled and configured, any newly added users will be automatically sent a welcome notification at the selected time. If you have users already loaded into the platform that is not welcomed, a banner will appear once the feature is enabled like below:

This banner will allow you to schedule welcome notifications to all existing, unwelcomed users in the selected audience. If you want finer-grain control of exactly which existing users receive emails, refer to the non-automatic workflow above!
After you have enabled the feature and configured the time and audience, all newly synced, added, or imported users will be automatically sent welcome notifications.
You can change the configuration at any time; just make sure you save your changes!
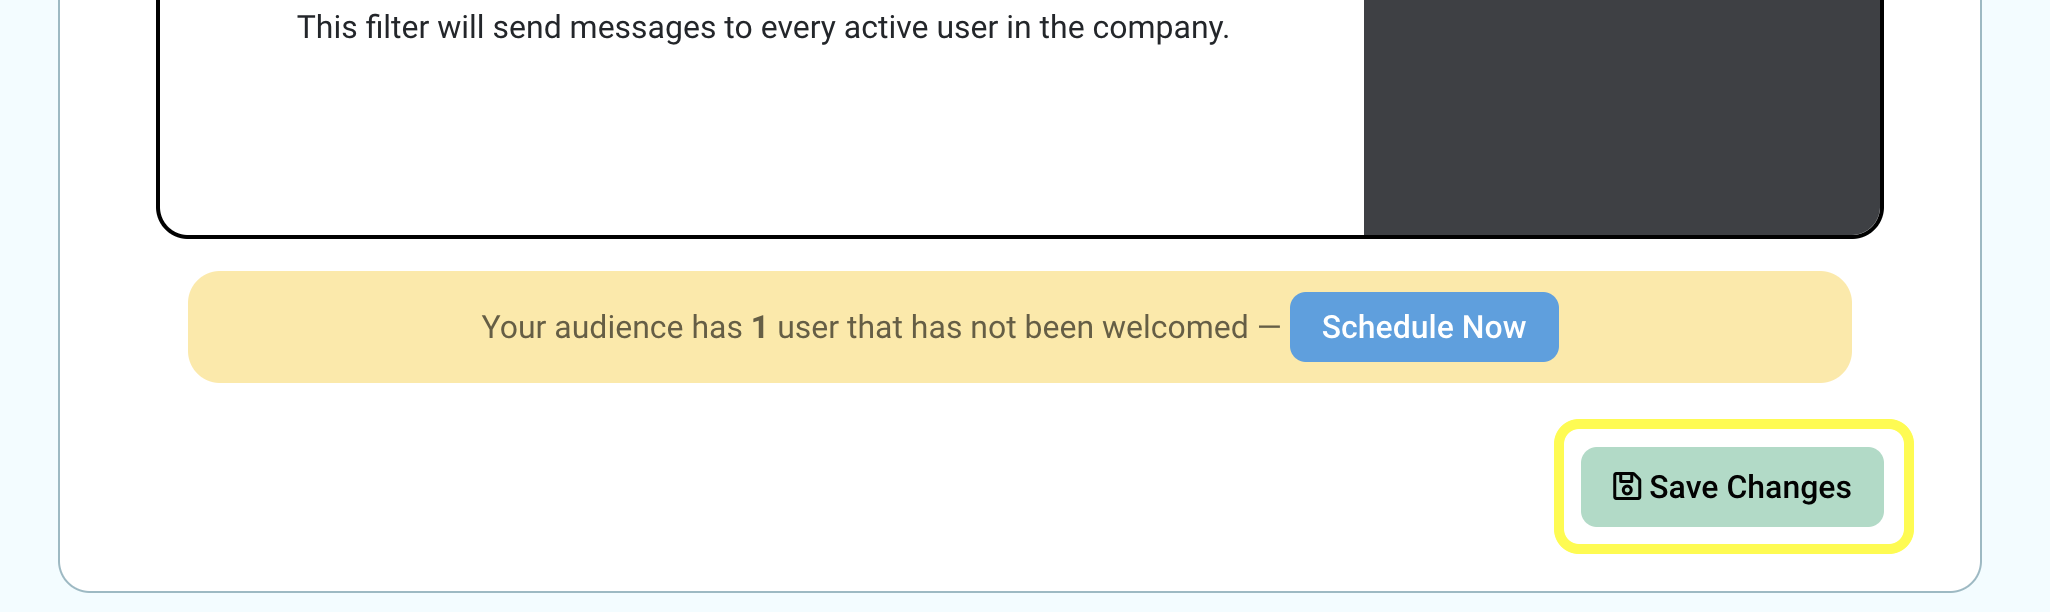
Message Timing
When automatic welcome emails are enabled, you can select a send time for the automated scheduling. With automated welcome emails enabled, a welcome email will be scheduled in outgoing messages when a user is added (by any means) to the platform.
If a user is added to the platform later than the scheduled time, the email will be sent on the nearest business day at the specified send time. If the user is added before the send time then the email will go out on the same day at the scheduled time. Welcome emails will only send on business days!
Audience Filtering with Automatic Welcome Emails
We provide an audience selection tool as part of the automatic welcome email configuration. An audience selected here will determine:
- Which users receive welcome emails automatically
- How many users do we display as un-welcomed (in the banner just below the audience filter)
You can change the audience filter at any time! However, any emails already scheduled will still be sent at their scheduled time even if they do not fit in the new audience filter. If the new audience contains any unwelcomed users, you can schedule emails for them from the yellow banner.
Outgoing Messages
All outgoing messages are viewable in the outgoing messages tab.
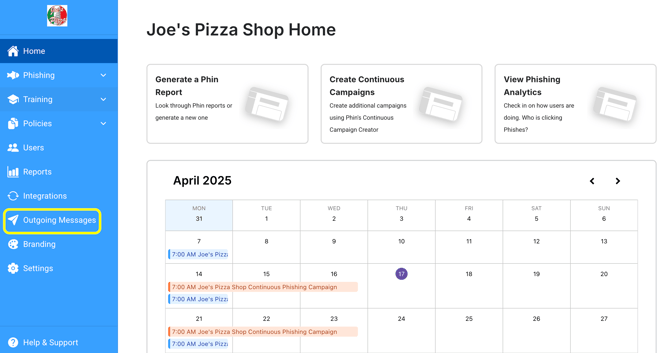
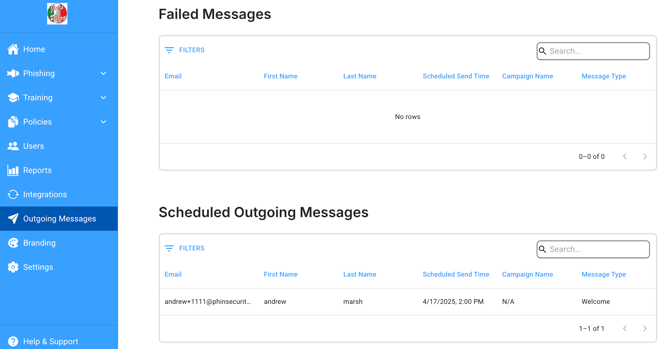
By clicking outgoing messages, you will see the table below. This shows any messages that failed to send and any messages that are scheduled to be sent.
Canceling Scheduled Welcome Emails
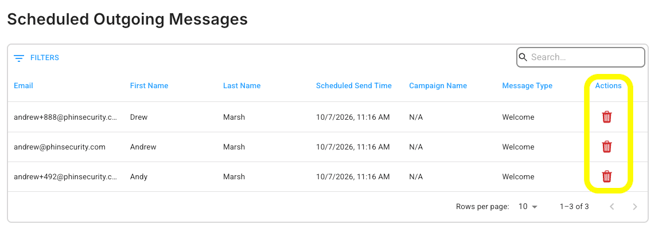
Welcome emails that are scheduled to be sent can be cancelled from the 'Outgoing Messages' tab at the company-level.
Was this article helpful?
YesNo