
How to Send a Test Phishing Email?
The guide explains how to send a test phishing email by navigating to Phishing > Campaigns, launching a campaign with a name and description, selecting "Fixed Length" for a test, choosing a template, running a preview by entering the test email address, and clicking "Run Preview" to receive the test email for review, noting that default names are used in test emails but real user names appear in live campaigns.
How to Send a Test Phishing Email?
When you're setting up custom campaigns, it's always good to know what a phish may look like and whether it'll deliver.
Tourial
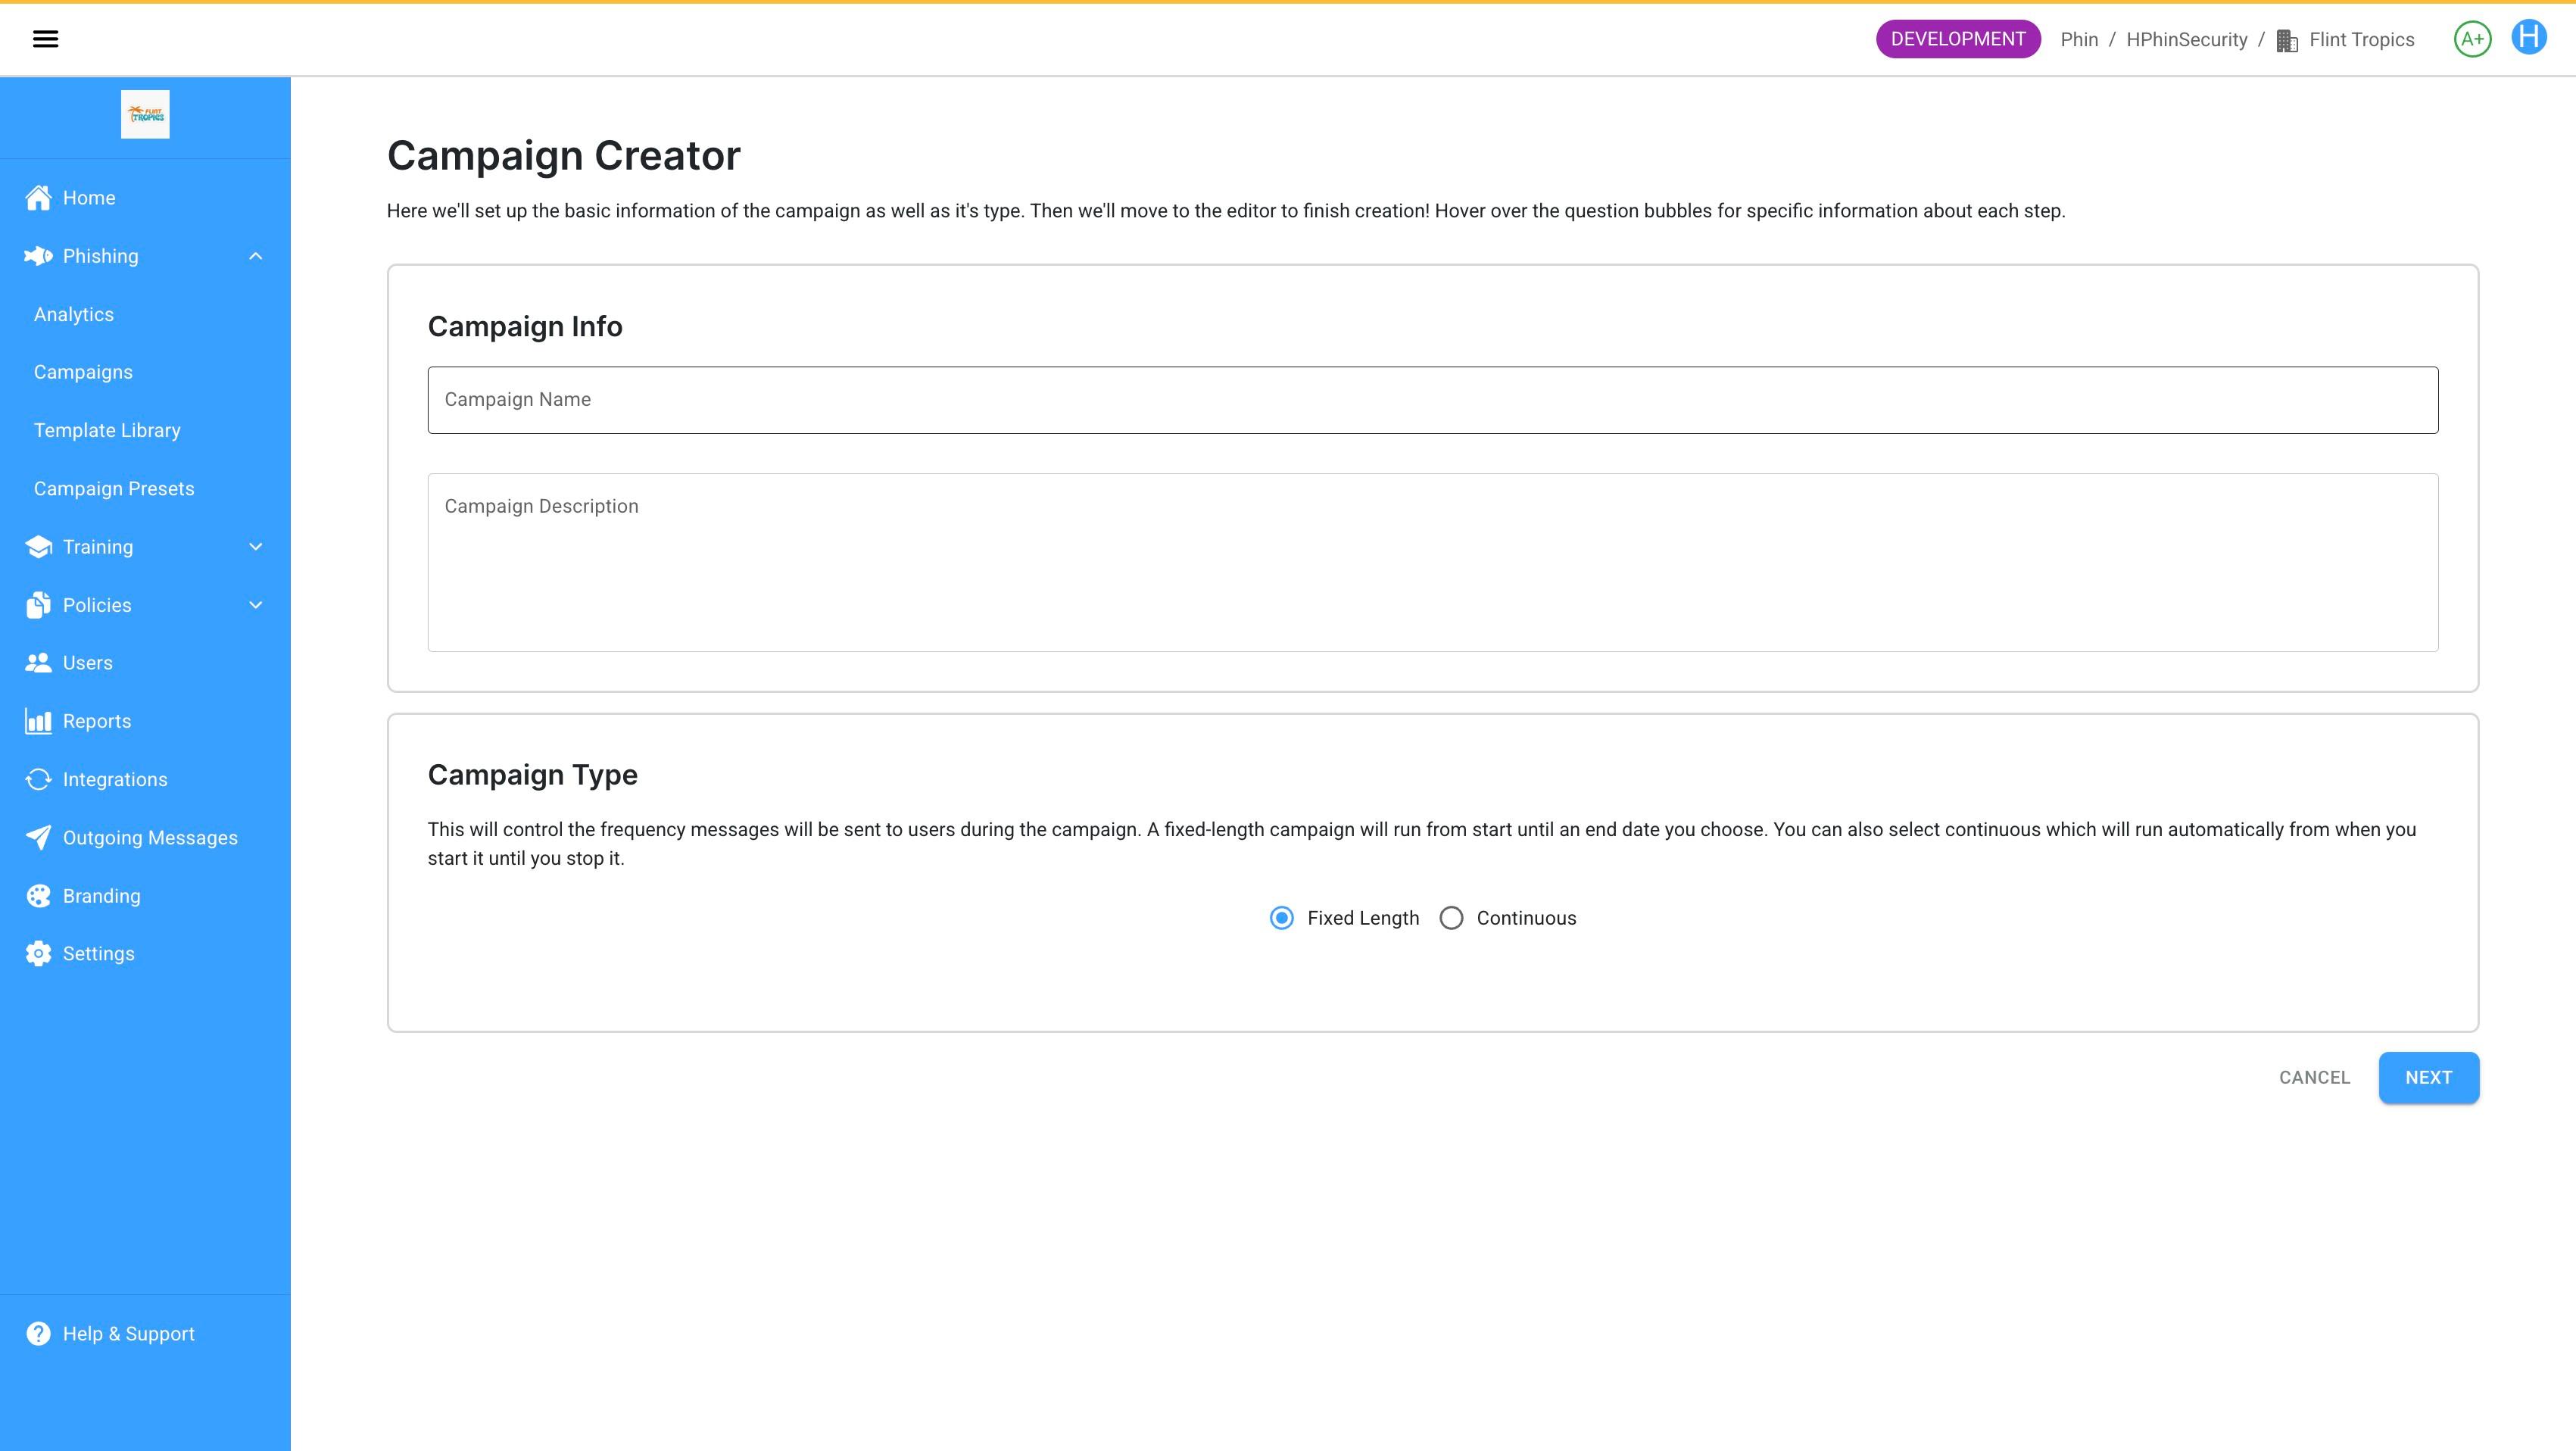
Type in a name for the campaign and description.

reCAPTCHA
Recaptcha requires verification.
protected by reCAPTCHA
- 1.First, go to Phishing > Campaigns.
- 2.Then select Launch a Phishing Campaign.
- 3.Enter a name for the campaign and description.
- 4.For the purpose of sending a test phishing campaign within the custom tool, select Fixed Length.
- 5.Scroll down and select a template to use for the test phishing email.
- 6.Select Run a Preview and enter the email to send the test phishing email.
- 7.Finally, click Run Preview at the bottom of the page to deliver the previews to those added above.
Note:
When sending a test phishing email, the First and Last names in the template will go to a default, as it is only a test phishing email. In the live campaign, it will correctly use the user's first or Last name in templates that use it.
Your test phishing emails will be in your inbox shortly for your review!
If you have any further questions, don't hesitate to reach out!
Was this article helpful?
YesNo